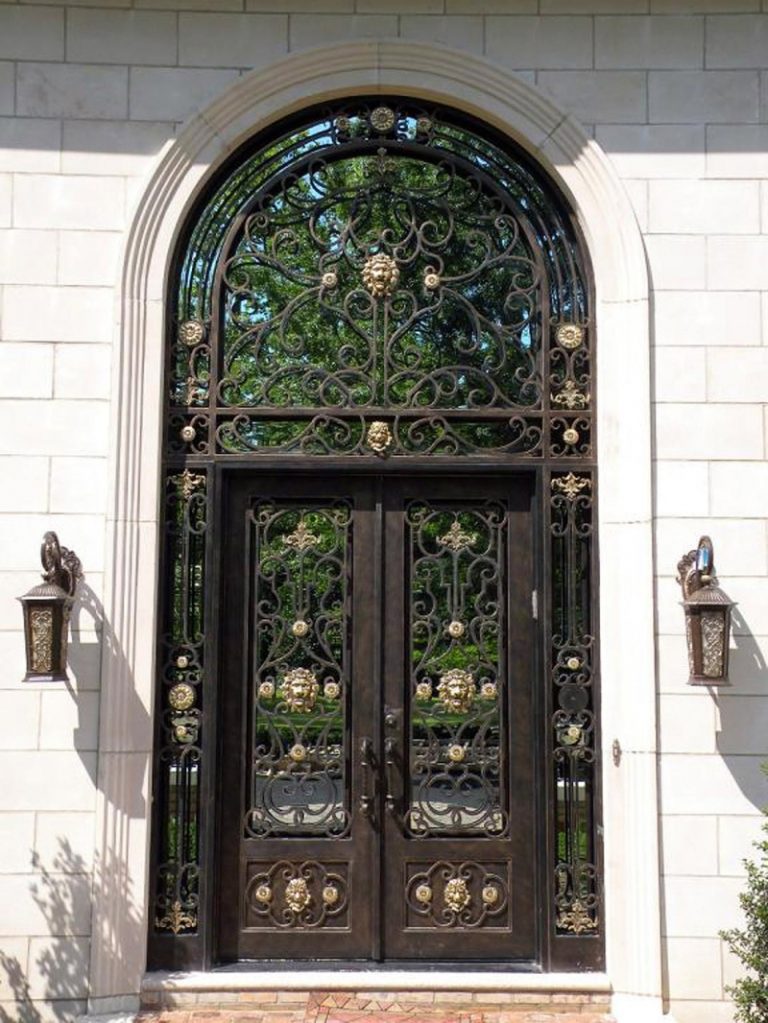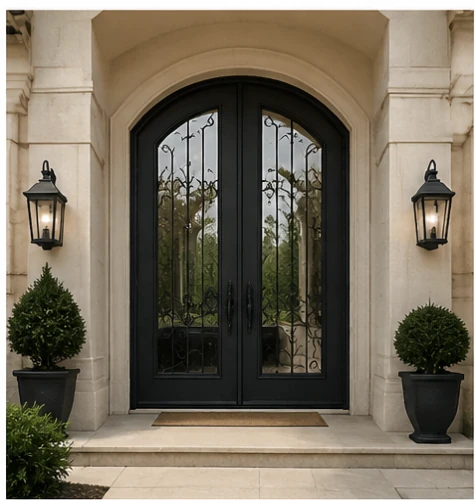
A successful custom iron door begins with more than a reference image. The opening, frame, operation, glass, hardware, finish, exposure, logistics, and installation plan must work together as one system.
This guide explains the information a manufacturer needs to develop a useful proposal and reduce avoidable revisions before fabrication.
1. Begin with the opening
The first priority is to define what is being measured. A rough structural opening, finished masonry opening, existing frame opening, and desired door size are not interchangeable.
Record or confirm:
- Opening width and height
- Finished floor level
- Wall and jamb construction
- Frame depth
- Interior and exterior elevations
- Threshold and sill conditions
- Available headroom
- Nearby trim, columns, steps, or walls
- Drainage and weather exposure
- Access for delivery and installation
Photographs should show the complete opening from both sides, not only a close-up of a measurement. On renovation projects, note any existing frame or material that will remain.
Do not authorize fabrication from an assumed opening size. Final dimensions should be verified against the actual site condition and the agreed installation method.
2. Define the door configuration
Choose the operating concept before refining decorative details. Common configurations include single and double doors, sidelights, transoms, French doors, pivot doors, oversized hinged doors, and Dutch doors.
The configuration affects clear opening, panel weight, frame design, hardware, weather sealing, handling, and installation. For double doors, identify the active and inactive leaf. For hinged doors, confirm swing and handing. For pivot systems, establish the pivot location and usable clear opening rather than judging the layout from overall width alone.
Use product references as a starting point
Reference pages can help define visual direction, including custom wrought iron doors, custom French doors, and custom pivot doors. They are not fixed specifications; translate the selected visual direction into the actual opening, operation, components, and approved drawing for the project.
Large dimensions should never be treated as a simple enlargement of a standard door. Structural support, hardware capacity, panel movement, transport, and site handling become more important as scale increases.
3. Translate the visual idea into buildable requirements
Reference images establish direction, but they rarely provide enough information for fabrication. Clarify what matters most: overall proportion, amount of glass, privacy level, density of ornamental work, symmetry, head shape, sightline width, handle position, and the relationship to nearby facade materials.
If several references are supplied, explain which feature matters in each. “Use the proportion from Image A, the glass pattern from Image B, and the finish direction from Image C” is more useful than asking for a direct copy of unrelated designs.
4. Review a coordinated drawing before production
The approved drawing becomes the shared reference for the project. Depending on the design, it should communicate overall dimensions, individual leaf sizes, clear opening, frame depth, swing, handing, hinge or pivot locations, hardware preparation, sidelights, transoms, glass, threshold, anchors, and decorative pattern spacing.
For an architect or builder review focused on those drawing decisions, see Custom Iron Door Shop Drawings: What Architects & Builders Need to Confirm. It explains how to review the drawing without treating it as a substitute for field verification or project-specific responsibility.
Check every dimension and written note. If the architectural opening changes, the door drawing must be reviewed again. Approval should be given only when the drawing matches the intended site condition, operation, and selected components.
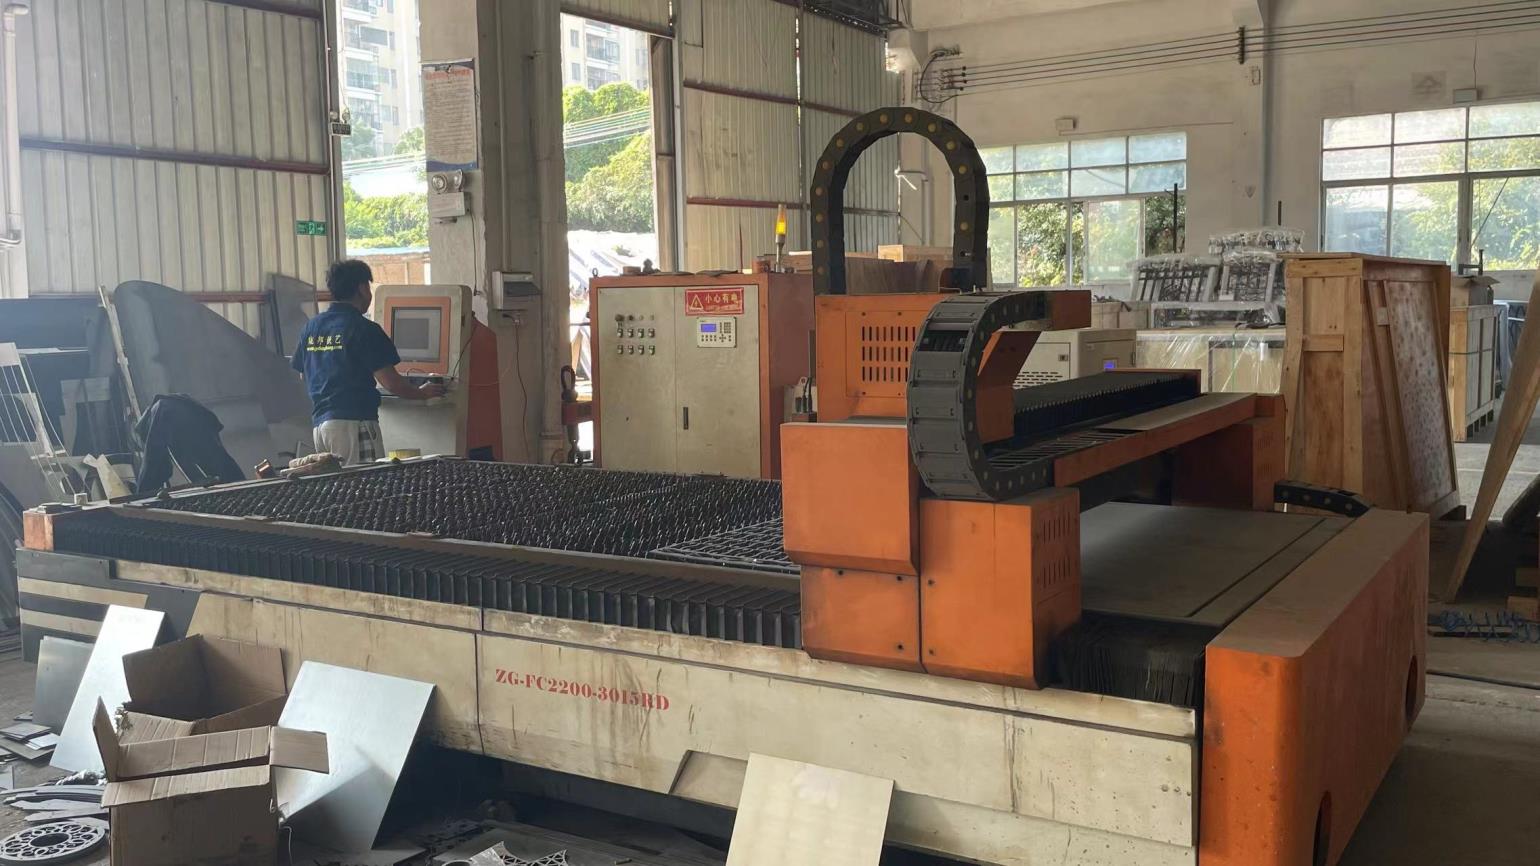
For documented workshop context, review how custom iron entry doors are made. It shows process stages, not a fixed construction specification for every project.
5. Specify construction according to the design
There is no single steel thickness or construction method that is correct for every custom iron door. Panel size, configuration, decorative work, hardware, glass, exposure, and performance expectations all influence the build.
Ask the manufacturer to identify the proposed construction and confirm reinforcement at hinges, pivots, locks, pulls, closers, and other loaded points. Distinguish between visible decorative elements and the structural parts of the door.
6. Select glass as part of the entry system
Glass influences safety, privacy, daylight, thermal performance, weight, and appearance. Review clear, tinted, patterned, or obscure appearance; required privacy; safety glazing; single or insulated construction; local requirements; thickness and weight; cleaning access; and replacement planning.
Climate and local regulations may determine which glazing build-up is appropriate. Decorative texture alone does not establish safety, thermal, or security performance. Request a physical sample when exact color, texture, or privacy is important.
7. Coordinate hardware before fabrication
Hardware affects internal preparation and should not be left until production is complete. Confirm the lock, backset, multipoint or single-point operation, handles, active and inactive leaf hardware, hinge or pivot system, closer, stops, smart-lock compatibility, access-control wiring, cylinder, and egress requirements.
If hardware will be supplied by another party, provide the exact manufacturer, model, technical drawing, and required preparation. A product photograph or sales-page link is not a substitute for dimensional information.
8. Treat the finish as a system
A finish is more than a color name. Surface preparation, primer, topcoat, texture, gloss, decorative accents, exposure, and maintenance all affect appearance and durability.
Define base color, sheen, texture, decorative effects, interior and exterior exposure, severe weather conditions, and the expected maintenance approach. Digital colors vary between screens and lighting conditions, so approve a physical sample when an exact match matters.
9. Address weather and thermal expectations directly
Steel is conductive, and decorative iron doors are not automatically airtight, watertight, or thermally insulated. Discuss the door and frame construction, glass build-up, gaskets, meeting-stile seals, sweep, threshold, drainage, shelter, climate, sealant, and flashing.
The surrounding opening and installation are part of the weather barrier. Where verified thermal, air, water, wind, impact, fire, or security performance is required, state the applicable standard before quotation and confirm whether documented testing applies to the proposed construction.
10. Plan installation before the door ships
Custom iron doors can be heavy. Confirm structural support, anchor method, finished floor elevation, shims and sealants, lifting equipment, installer resources, delivery path, access restrictions, protection of nearby surfaces, and final operating checks.
Installation responsibility should be clearly assigned. The installer should receive the approved drawing, hardware information, and manufacturer instructions before work begins. Protect the finish from grinding, welding, masonry cleaners, impact, and prolonged wet packaging.
11. Coordinate packing and delivery
A door that fits the wall may still be difficult to move through the site. Review packed dimensions, crate weight, unloading method, equipment requirements, delivery restrictions, storage, the route to the opening, and packing disposal.
Inspect the crate on arrival and document visible transport damage before unpacking. Verify components against the packing information and store them in a dry, protected location.
12. Prepare a complete quotation package
Include the project location, architectural drawings, verified or preliminary dimensions, interior and exterior photographs, configuration, swing and handing, reference images, glass, hardware, finish, weather exposure, required standards, quantity, schedule, and destination.
Identify what is confirmed and what remains preliminary. This lets the manufacturer separate firm requirements from assumptions that still need review.
For a focused explanation of how those project choices affect the proposal, read What Affects a Custom Iron Door Quote? It explains scope and comparison questions without treating a reference design as a fixed price or specification.
Common specification mistakes
- Quoting from a reference image without opening information
- Confusing door size with rough opening size
- Approving only the front elevation
- Selecting hardware after fabrication starts
- Assuming all glass provides the same safety or thermal performance
- Choosing a finish from an uncalibrated screen
- Ignoring threshold, drainage, and exterior exposure
- Treating an oversized door as a standard door at a larger scale
- Forgetting crate dimensions and site access
- Beginning production before final drawing approval
A better door begins with a better brief
Custom work becomes more predictable when design intent and practical conditions are considered together. Define the opening, operation, glass, hardware, finish, exposure, logistics, and installation responsibilities before fabrication—not after the door arrives.
Start a project-specific RFQ with the information currently available, including the project location, dimensions status, reference direction, quantity, timing, and a short description. The form does not accept file uploads; after the sales team replies, drawings and reference images can be shared for review.
For company details and the evidence boundaries applied to product and project claims, see Company Facts.